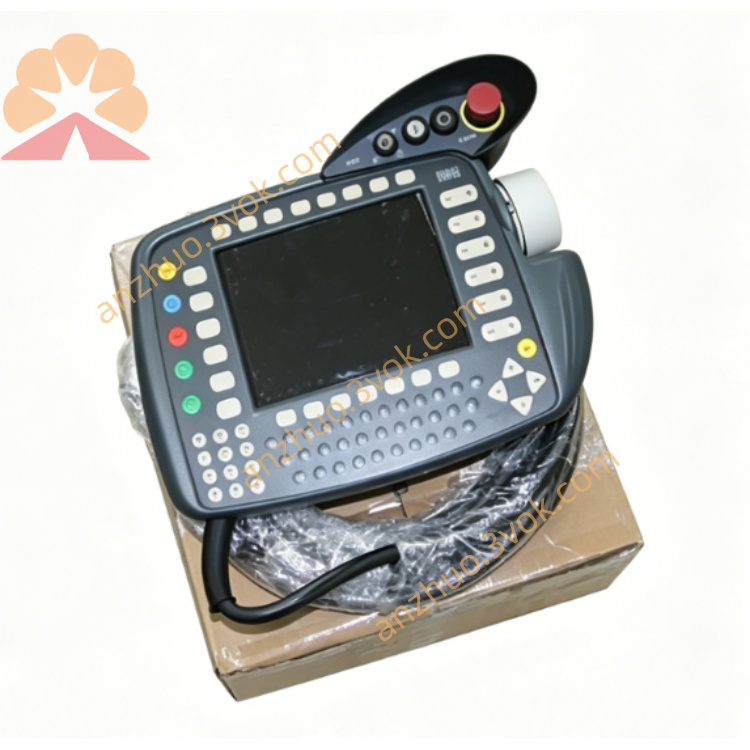
KCP2
Description
2. Technical Specifications
Model: KCP2 (KUKA Control Panel 2)
Article Number: 00-130-547, 00-107-263
Compatible Controller: KUKA KRC2 (Edition 05)
Display: 8.4-inch TFT color display, VGA (640×480)
Power Supply: 24 V DC (from controller)
Current Consumption: ≤ 0.5 A
Protection Class: IP65 (front panel)
Cable Length: Standard 10 m (optional 20 m)
3. Main Components & Controls
Emergency Stop (E-Stop) Button: Red mushroom-shaped button; stops all robot motion immediately when pressed.
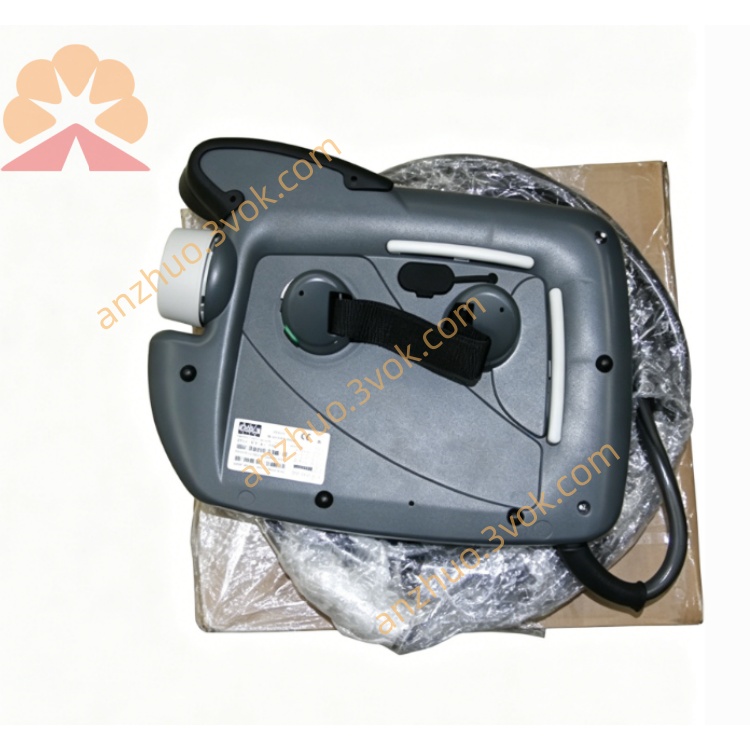
3-Position Enabling Switch (Rear):
Position 0: Disabled (robot cannot move)
Position 1: Enabled (for manual jogging; must be held)
Position 2: Disabled (robot cannot move)
Mode Selector Switch:
T1: Manual low speed (≤250 mm/s; for teaching)
T2: Manual high speed (for verification)
AUT: Automatic mode (for production)
6D Joystick: For Cartesian or axis-specific robot jogging.
Alphanumeric Keypad: For inputting program names, values, and commands.
Softkeys & Function Keys: For menu navigation and command selection.
4. Safety Instructions
E-Stop: Only use in emergencies; do not use for normal stopping.
Enabling Switch: Always hold in Position 1 during manual operation; robot will not move if released.
Mode Rules:
T1: Reduced speed; use for teaching and testing.
T2: High speed; ensure workspace is clear.
AUT: No operator allowed in workspace.
No Modification: Never bypass or modify safety circuits (E-Stop, enabling switch).
Work Envelope: Always be aware of the robot’s full working range.
5. Installation & Connection
Cable Connection: Connect the KCP2 cable to the KRC2 controller’s KCP port. Ensure the connector is fully seated and locked.
Mounting: Hang the pendant on a dedicated stand or carry it by hand; avoid dropping.
Power-Up: The KCP2 is powered by the controller. It boots automatically when the controller is turned on.
6. Operating Instructions
6.1 Manual Jogging (T1/T2 Mode)
Turn the mode switch to T1 (recommended) or T2.
Half-press (hold) the enabling switch on the rear (Position 1).
Use the 6D joystick to move the robot:
Axis Mode: Jog individual joints (A1–A6).
Cartesian Mode: Move the tool center point (TCP) in X/Y/Z or rotate in A/B/C.
Adjust jog speed using the HOV (Handwheel Override) keys (0–100%).
6.2 Programming (T1 Mode)
In T1 mode, jog the robot to the desired position.
Press Record or Line to store the position in a program.
Use softkeys to add commands (e.g.,
LIN,CIRC,WAIT,PTP).Name the program and save it.
6.3 Automatic Operation (AUT Mode)
Select the program from the program list.
Turn the mode switch to AUT.
Ensure all personnel are clear of the robot workspace.
Press Start to run the program; press Stop to pause.
7. Maintenance
Cleaning: Wipe the display and keypad with a soft, dry cloth; avoid liquids.
Cable Inspection: Check for cuts, kinks, or fraying; replace if damaged.
Connector Check: Ensure connectors are clean and securely fastened.
Storage: Hang in a clean, dry area when not in use; avoid extreme temperatures.
Get a Quote