12-766020
Description
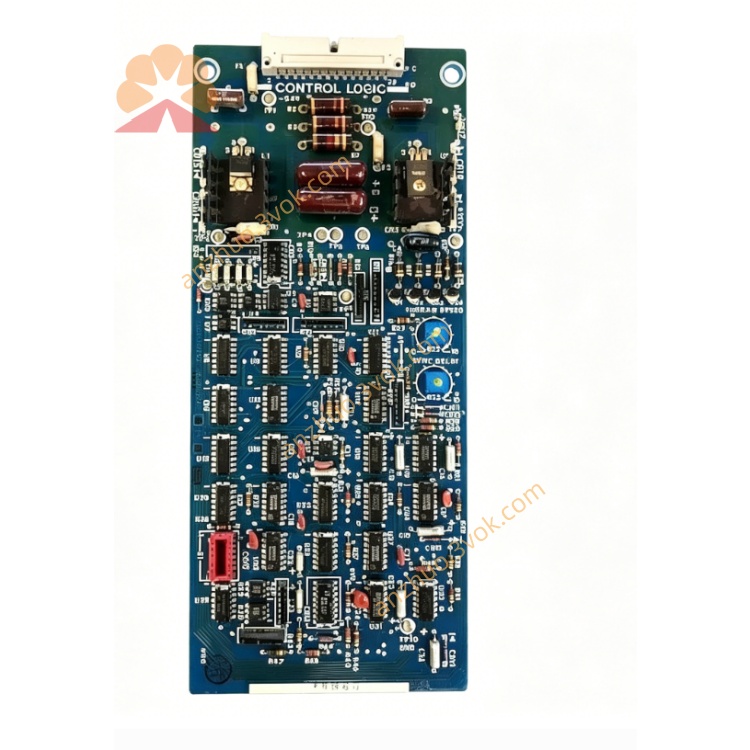
1. Product Overview
1. Product Overview
2. Main Features
Compact DIN-rail mount housing, space-saving and easy installation
Industrial-grade isolation, high noise immunity, and strong anti-interference capability
Integrated overvoltage, overcurrent, short-circuit, and surge protection
Wide-range 24VDC power input, reverse-polarity protection
Multi-channel mixed signal support (analog/digital)
Low power consumption, long-term continuous operation
Flame-retardant plastic enclosure, suitable for harsh environments
Simple wiring and maintenance, pluggable terminal blocks optional
3. Technical Specifications
3.1 General
3.2 I/O Channel Configuration
Analog Input: 4 channels, 0–10VDC / 4–20mA selectable
Analog Output: 2 channels, 0–10VDC / 4–20mA selectable
Digital Input: 6 channels, 24VDC logic (NPN/PNP compatible)
Digital Output: 4 channels, relay output 250VAC/30VDC @ 3A
3.3 Performance
Resolution: 12-bit (analog)
Accuracy: ±0.2% FS @ 25°C
Temperature Drift: ≤100ppm/°C
Response Time: ≤10ms (per channel)
Insulation Resistance: ≥10MΩ @ 500VDC
4. Safety Precautions
Installation, wiring, and maintenance must be performed by qualified personnel.
Disconnect power before wiring or maintenance to avoid electric shock and equipment damage.
Do not install in flammable, explosive, or corrosive environments.
Keep ventilation clear; do not block heat dissipation slots.
Separate power and signal cables to reduce interference.
Connect the protective earth terminal to a reliable ground.
Do not exceed rated load on any channel.
Do not disassemble or modify the module without authorization.
5. Installation and Terminal Definition
5.1 DIN Rail Installation
Secure a standard 35mm DIN rail to the mounting surface.
Hook the module’s upper clip onto the rail edge.
Press downward until the bottom lock clicks into place.
Gently shake to confirm firm mounting.
5.2 Terminal Assignment
5.3 Wiring Instructions
Strip 6 mm of insulation from wire ends.
Loosen terminal screws, insert wires, and tighten securely (do not overtighten).
Use shielded twisted-pair cable for analog signals; single-end ground the shield.
Use stranded copper wire for digital I/O and power.
Secure cables with ties to avoid tension on terminals.
6. Operation Description
6.1 Power-On Self-Test
6.2 Operating Modes
Analog Input: Acquires 0–10V / 4–20mA signals from sensors and transmits data to the controller.
Analog Output: Converts controller commands to 0–10V / 4–20mA for valves, actuators, and indicators.
Digital Input: Reads 24VDC on/off status from switches and sensors.
Digital Output: Drives external relays, solenoids, and lamps according to control logic.
6.3 LED Indicator Status
POWER (Green, steady): Power normal
STATUS (Green, flashing): Normal operation
STATUS (Red, flashing): Overload, short circuit, or communication error
STATUS (Red, steady): Hardware fault; replace module
7. Maintenance
Periodically check terminal tightness and wiring condition.
Clean the module surface with a dry, soft cloth; do not use solvents.
Ensure ambient temperature and humidity remain within specifications.
Inspect cables for aging or damage and replace as needed.
8. Troubleshooting
- POWER LED off
Cause: No 24VDC, reversed polarity, or broken wire
Solution: Check power supply and wiring polarity
- STATUS LED red flashing
Cause: Output overload, short circuit, or self-test failure
Solution: Disconnect load, clear fault, and restart power
- Analog input unstable
Cause: Loose terminals, incorrect range, or EMI interference
Solution: Secure wiring, verify range setting, use shielded cable and proper grounding
- Digital output no action
Cause: Overload, incorrect logic, or loose terminal
Solution: Reduce load to rated value, check logic, and tighten terminals
9. Warranty
2. Main Features
Compact DIN-rail mount housing, space-saving and easy installation
Industrial-grade isolation, high noise immunity, and strong anti-interference capability
Integrated overvoltage, overcurrent, short-circuit, and surge protection
Wide-range 24VDC power input, reverse-polarity protection
Multi-channel mixed signal support (analog/digital)
Low power consumption, long-term continuous operation
Flame-retardant plastic enclosure, suitable for harsh environments
Simple wiring and maintenance, pluggable terminal blocks optional
3. Technical Specifications
3.1 General
3.2 I/O Channel Configuration
Analog Input: 4 channels, 0–10VDC / 4–20mA selectable
Analog Output: 2 channels, 0–10VDC / 4–20mA selectable
Digital Input: 6 channels, 24VDC logic (NPN/PNP compatible)
Digital Output: 4 channels, relay output 250VAC/30VDC @ 3A
3.3 Performance
Resolution: 12-bit (analog)
Accuracy: ±0.2% FS @ 25°C
Temperature Drift: ≤100ppm/°C
Response Time: ≤10ms (per channel)
Insulation Resistance: ≥10MΩ @ 500VDC
4. Safety Precautions
Installation, wiring, and maintenance must be performed by qualified personnel.
Disconnect power before wiring or maintenance to avoid electric shock and equipment damage.
Do not install in flammable, explosive, or corrosive environments.
Keep ventilation clear; do not block heat dissipation slots.
Separate power and signal cables to reduce interference.
Connect the protective earth terminal to a reliable ground.
Do not exceed rated load on any channel.
Do not disassemble or modify the module without authorization.
5. Installation and Terminal Definition
5.1 DIN Rail Installation
Secure a standard 35mm DIN rail to the mounting surface.
Hook the module’s upper clip onto the rail edge.
Press downward until the bottom lock clicks into place.
Gently shake to confirm firm mounting.
5.2 Terminal Assignment
5.3 Wiring Instructions
Strip 6 mm of insulation from wire ends.
Loosen terminal screws, insert wires, and tighten securely (do not overtighten).
Use shielded twisted-pair cable for analog signals; single-end ground the shield.
Use stranded copper wire for digital I/O and power.
Secure cables with ties to avoid tension on terminals.
6. Operation Description
6.1 Power-On Self-Test
6.2 Operating Modes
Analog Input: Acquires 0–10V / 4–20mA signals from sensors and transmits data to the controller.
Analog Output: Converts controller commands to 0–10V / 4–20mA for valves, actuators, and indicators.
Digital Input: Reads 24VDC on/off status from switches and sensors.
Digital Output: Drives external relays, solenoids, and lamps according to control logic.
6.3 LED Indicator Status
POWER (Green, steady): Power normal
STATUS (Green, flashing): Normal operation
STATUS (Red, flashing): Overload, short circuit, or communication error
STATUS (Red, steady): Hardware fault; replace module
7. Maintenance
Periodically check terminal tightness and wiring condition.
Clean the module surface with a dry, soft cloth; do not use solvents.
Ensure ambient temperature and humidity remain within specifications.
Inspect cables for aging or damage and replace as needed.
8. Troubleshooting
- POWER LED off
Cause: No 24VDC, reversed polarity, or broken wire
Solution: Check power supply and wiring polarity
- STATUS LED red flashing
Cause: Output overload, short circuit, or self-test failure
Solution: Disconnect load, clear fault, and restart power
- Analog input unstable
Cause: Loose terminals, incorrect range, or EMI interference
Solution: Secure wiring, verify range setting, use shielded cable and proper grounding
- Digital output no action
Cause: Overload, incorrect logic, or loose terminal
Solution: Reduce load to rated value, check logic, and tighten terminals
Get a Quote